How to Setup RMC for Speco Access Control Panels
07 May 2026
6 views
Note: Click here to learn how to apply the RMC License to your system
Step 1: Enable RMC in Access Control
- After applying the RMC License, log back into the Access Control Panel.
- Once logged in, go to Settings.
- Click on RMC under Network Settings
- Click on RMC under Network Settings

Step 2: Activate RMC
- Select Edit and make sure RMC is enabled.
- Once enabled, the panel will display:
- Start Time
- Check Time
- Network Status

Step 3: Register RMC Account
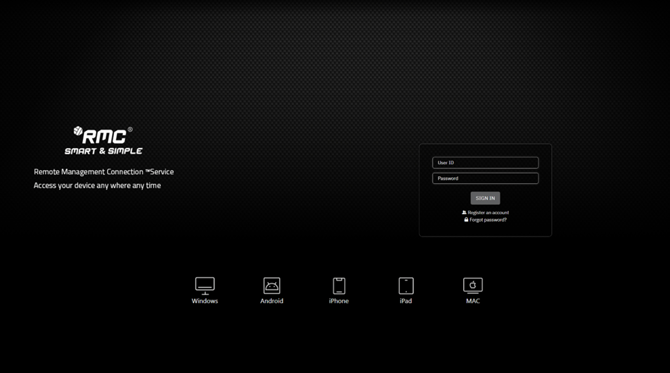
- Go to https://access.specotech.com/login
- If you don’t have an account, click Register an Account.
- Complete the registration form with the following details:
- User ID
- Password
- Username
- Email Address
- Description
- Click Apply to register.
- After registration, enter your login credentials to access the RMC Server.

Step 4: Adding Access Control Unit to the RMC
- Click the Add button in the upper-right corner.

- A search screen will appear where you can look for the Device ID:

- The Device ID can be found in the Access Control Panel under Network > RMC.
- Enter the Device ID and click Search.

- After the search is complete, click the Apply button to add the site to your RMC.
Step 5: Confirming the Site Addition
- Once the site is successfully added, you will see confirmation information displayed on your RMC Server dashboard.

Initial submission Date: January 6, 2025

Article authored by: Jacob Brenner, Tier 1
Note: Click here to learn how to apply the RMC License to your system
Step 1: Enable RMC in Access Control
- After applying the RMC License, log back into the Access Control Panel.
- Once logged in, go to Settings.
- Click on RMC under Network Settings
- Click on RMC under Network Settings
Step 2: Activate RMC
- Select Edit and make sure RMC is enabled.
- Once enabled, the panel will display:
- Start Time
- Check Time
- Network Status
Step 3: Register RMC Account
- Go to https://access.specotech.com/login
- If you don’t have an account, click Register an Account.
- Complete the registration form with the following details:
- User ID
- Password
- Username
- Email Address
- Description
- Click Apply to register.
- After registration, enter your login credentials to access the RMC Server.
Step 4: Adding Access Control Unit to the RMC
- Click the Add button in the upper-right corner.
- A search screen will appear where you can look for the Device ID:
- The Device ID can be found in the Access Control Panel under Network > RMC.
- Enter the Device ID and click Search.
- After the search is complete, click the Apply button to add the site to your RMC.
Step 5: Confirming the Site Addition
- Once the site is successfully added, you will see confirmation information displayed on your RMC Server dashboard.
Initial submission Date: January 6, 2025

Article authored by: Jacob Brenner, Tier 1
Was this article helpful?
Bu bilgiler sorununuzu çözmeye yardımcı oldu mu?
Thanks for your feedback!
Still need help?
Uzman ekibimiz size yardımcı olmak için burada.